AccuTerm: Capturing Data to Excel
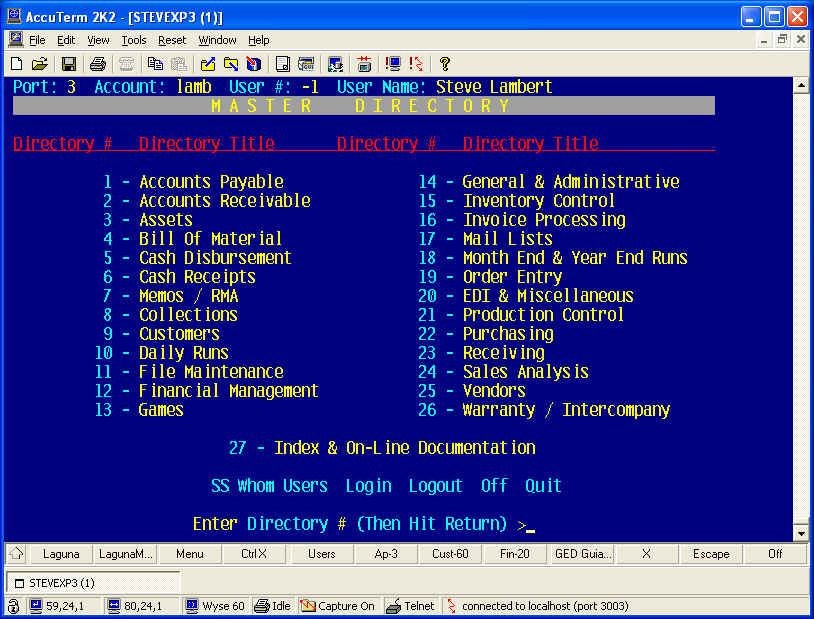
Step 1: Launch AccuTerm and Logon to your Account
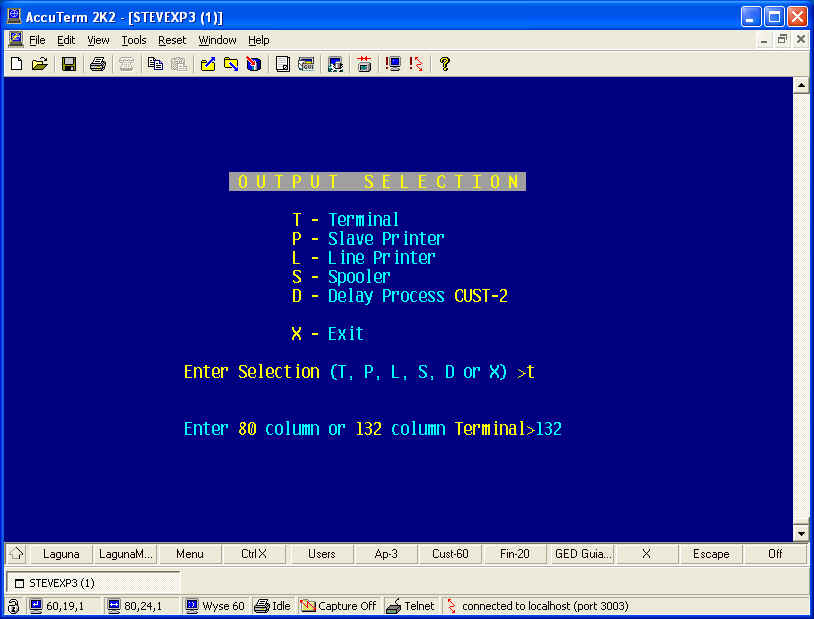
Step 2: Start your report, answering the prompts, select T - terminal output and 132 Columns: Do NOT press ENTER after entering 132. The sample report below is CUST-2.
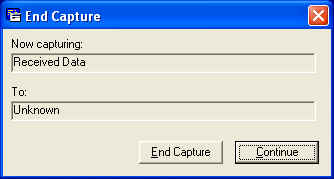
3. Click on the "Capture data to file" Icon in the Tool Bar. You will get this dialog box.
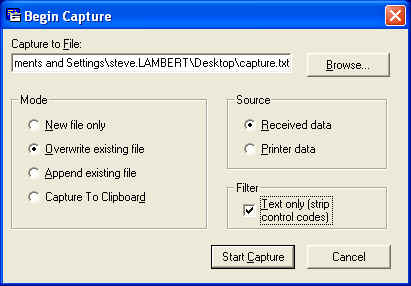
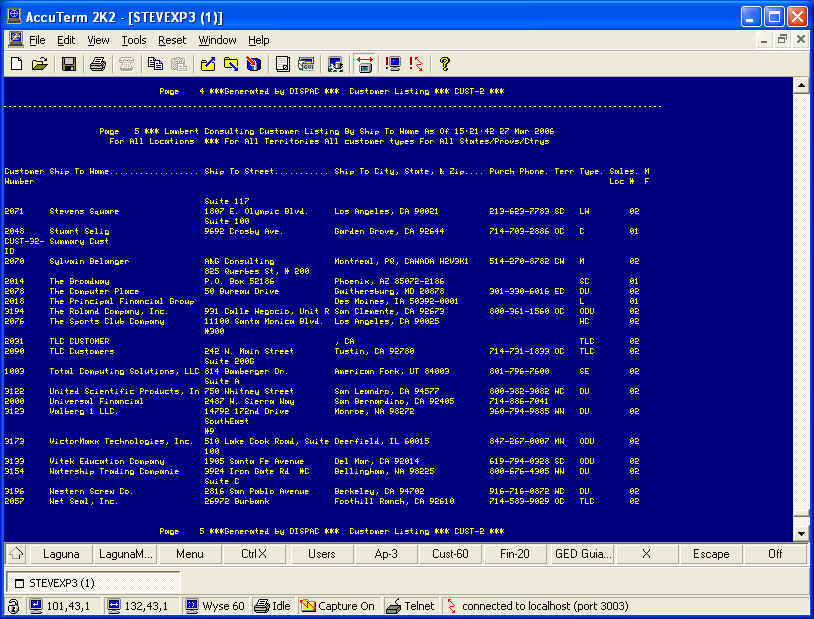
4. I selected a file called "capture.txt" that resides on the DeskTop. Overwrite existing file is selected. Source = Received data. Text Only is cheked. Then click on the "Start Capture" button. You will see the "Capture On" indicator on the Status Bar at the bottom of AccuTerm. Now press return for each page of the report, stopping at the last page of the report.
5. Click on the Capture Icon in the ToolBar and click on "End Capture"
6. Open Excel and browse to the DeskTop. Change Files of type to Text Files (*.prn; *.txt; *.csv). Open capture.txt. A dialog opens.
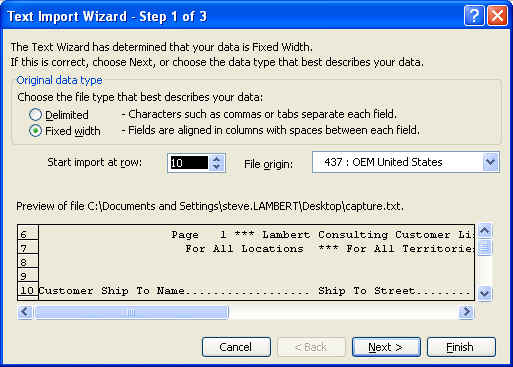
7. Make sure Fixed width is selected and start the import AFTER the heading, at the first row where the column headers appear. Click Next.
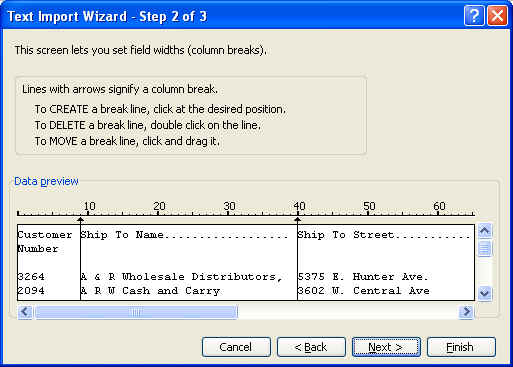
8. Use the mouse to select line breaks. This defines the columns in your worksheet.
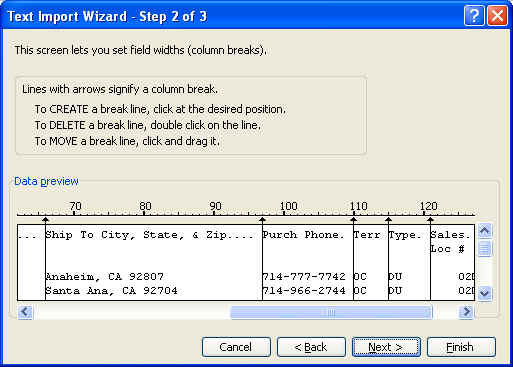
9. Set the Line Breaks to just before the first character of the column headings.m Click Next.
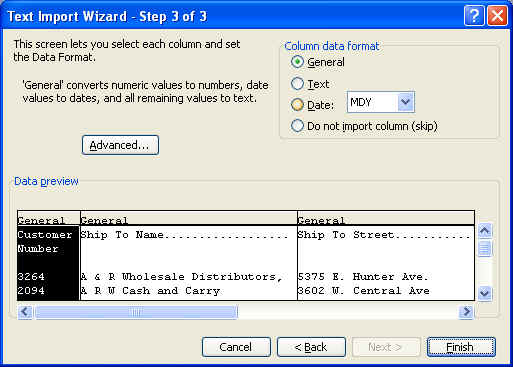
10. Click Finish.
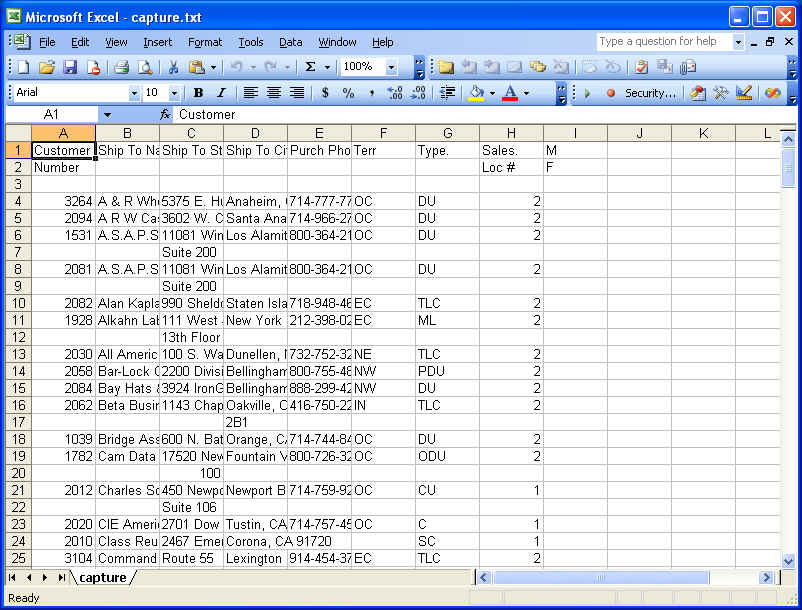
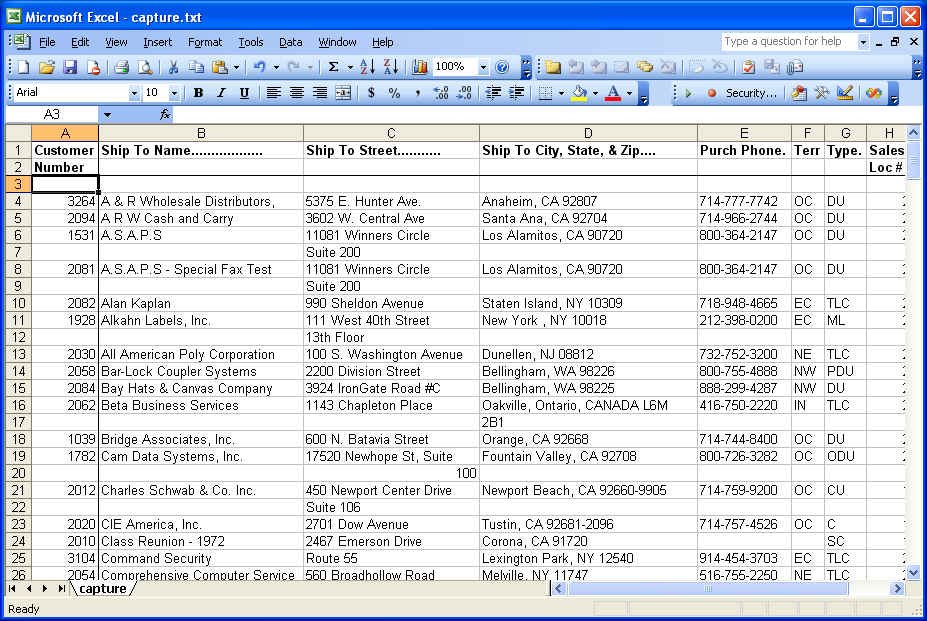
11. You may want to do a little formatting here. Autosize the sheet, Bold the headings, Add Freeze Pane.
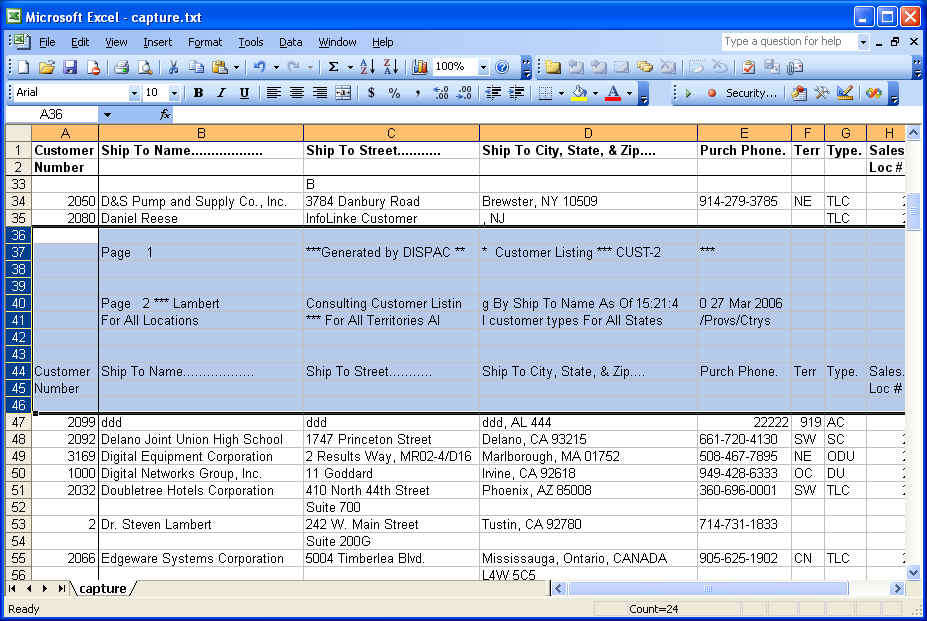
12. Scroll down and remove the Footers and Headings between each page of your report
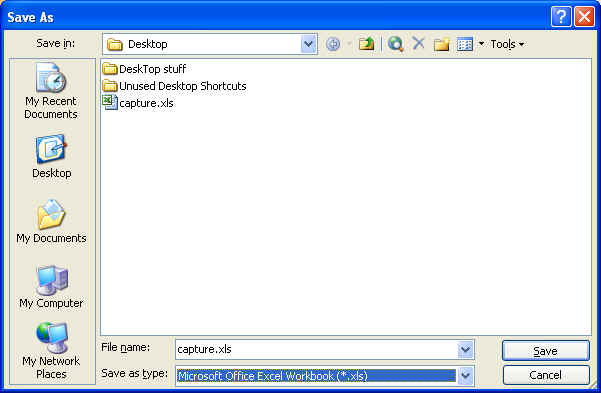
13. Save the Sheet as an XLS worksheet.
14. DONE!